
Git is by far the most popular software version control system today, and every software developer surely knows the basics of how to make a Git commit. Given the popularity, it is surprising how many people don’t actually know the advanced commands. Mastering them might help you unlock a new level of productivity. Let’s dive in!
Avoid excess downloads with selective and shallow Git clone
When working with large Git repositories, it is not always desirable to clone the full repository as it would take too long to download. Instead you can execute the clone for example like this:
git clone --branch 11.5 --shallow-since=3m https://github.com/MariaDB/server.git mariadb-serverThis will make a clone that only tracks branch 11.5 and no other branches. Additionally, this uses the shallow clone feature to fetch commit history only for the past 3 months instead of the entire history (which in this example would otherwise be 20+ years). You could also specify 3w or 1y to fetch three weeks or one year. After the initial clone, you can use git remote set-branches --add origin 10.11 to start tracking an additional branch, which will be downloaded on git fetch.
If you already have a git repository, and all you want to do is fetch one single branch from a remote repository one-off, without adding it as a new remote, you can run:
$ git fetch https://github.com/robinnewhouse/mariadb-server.git ninja-build-cracklib
From https://github.com/robinnewhouse/mariadb-server
* branch ninja-build-cracklib -> FETCH_HEAD
$ git merge FETCH_HEAD
Updating 112eb14f..c649d78a
Fast-forward
plugin/cracklib_password_check/CMakeLists.txt | 3 ++-
1 file changed, 2 insertions(+), 1 deletion(-)
$ git show
commit c649d78a8163413598b83f5717d3ef3ad9938960 (HEAD -> 11.5)
Author: RobinThis is a very fast and small download, which will not persist as a remote. It creates a temporary Git reference called FETCH_HEAD, which you can then use to inspect the branch history by running git show FETCH_HEAD, or you can merge it, cherry-pick, or perform other operations.
If you want to download the bare minimum, you can even operate on individual commits as raw patch files. A typical example would be to download a GitHub Pull Request as a patch file and apply it locally:
$ curl -LO https://patch-diff.githubusercontent.com/raw/MariaDB/server/pull/3026.patch
$ git am 3026.patch
Applying: Fix ninja build for cracklib_password_check
$ git show
commit a9c44bc204735574f2724020842373b53864e131 (HEAD -> 11.5)
Author: RobinThe same works for GitLab Merge Requests as well – just add .patch at the end of the MR url. This will apply both the code change inside the patch, as well as honor the author field, and use the patch description as the commit subject line and message body. However, when running git am, the committer name, email, and date will be that of the user applying the patch, and thus the SHA-sum of the commit ID will not be identical.
The latest Git has a new experimental command sparse-checkout that allows one to checkout only a subset of files, but I won’t recommend it as this post is purely about best practices and tips I myself find frequently useful to know.
Inspecting Git history and comparing revisions
The best command to view the history of a single file is:
git log --oneline --follow path/to/filename.extThe extra --follow makes Git traverse the history longer to find if the same contents existed previously with a different file name, thus showing file contents across file renames. Using --oneline provides a nice short list of just the Git subject lines. To view the full Git commit messages as well as the actual changes, use this:
git log --patch --follow path/to/filename.extIf there is a specific change you are looking for, search it with git log --patch -S <keyword>.
To view the project history in general, having this alias is handy:
alias g-log="git log --graph --format='format:%C(yellow)%h%C(reset) %s %C(magenta)%cr%C(reset)%C(auto)%d%C(reset)'"
The output shows all references, multiple branches in parallel and it is nicely colorized. If the project has a lot of messy merges, sticking to one branch may be more readable:
git log --oneline --no-merges --first-parent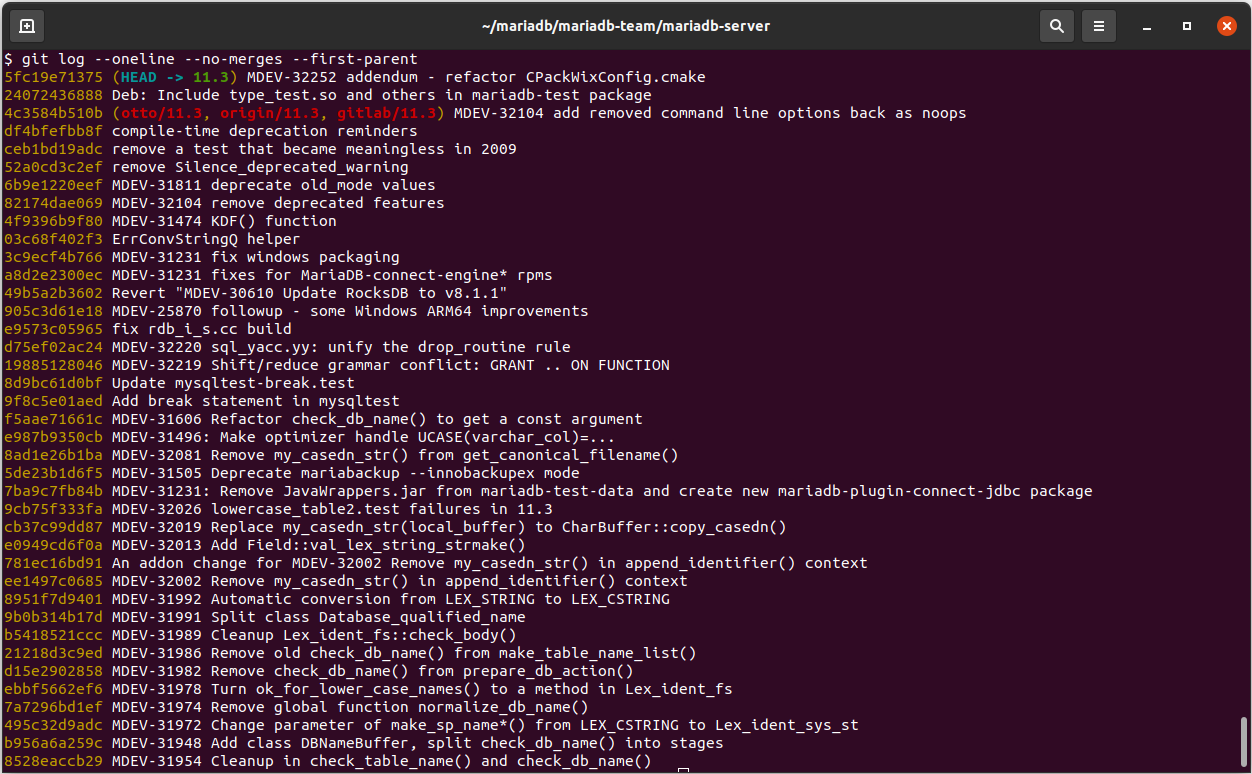
However, an even better option is to use gitk --all &. This standard Git graphical user interface allows you to browse the history, search for changes with a specific string, jump to a specific commit to quickly inspect it and what preceded it, open a graphical Git blame in a new window, etc. The --all instructs gitk to show all branches and references, and the ampersand backgrounds the process so that your command-line prompt is freed to run other commands. If your workflow is based on working over SSH on a remote server, simply connect with ssh -X remote.server.example to have X11 forwarding enabled (only works on Linux). Then on the SSH command-line just run gitk --all & and a window should pop up.
laptop$ ssh -X remote-server.example.com
server$ echo $DISPLAY
:0 (X11 forwarding is enabled and xauth running)
server$ cd path/to/git/repo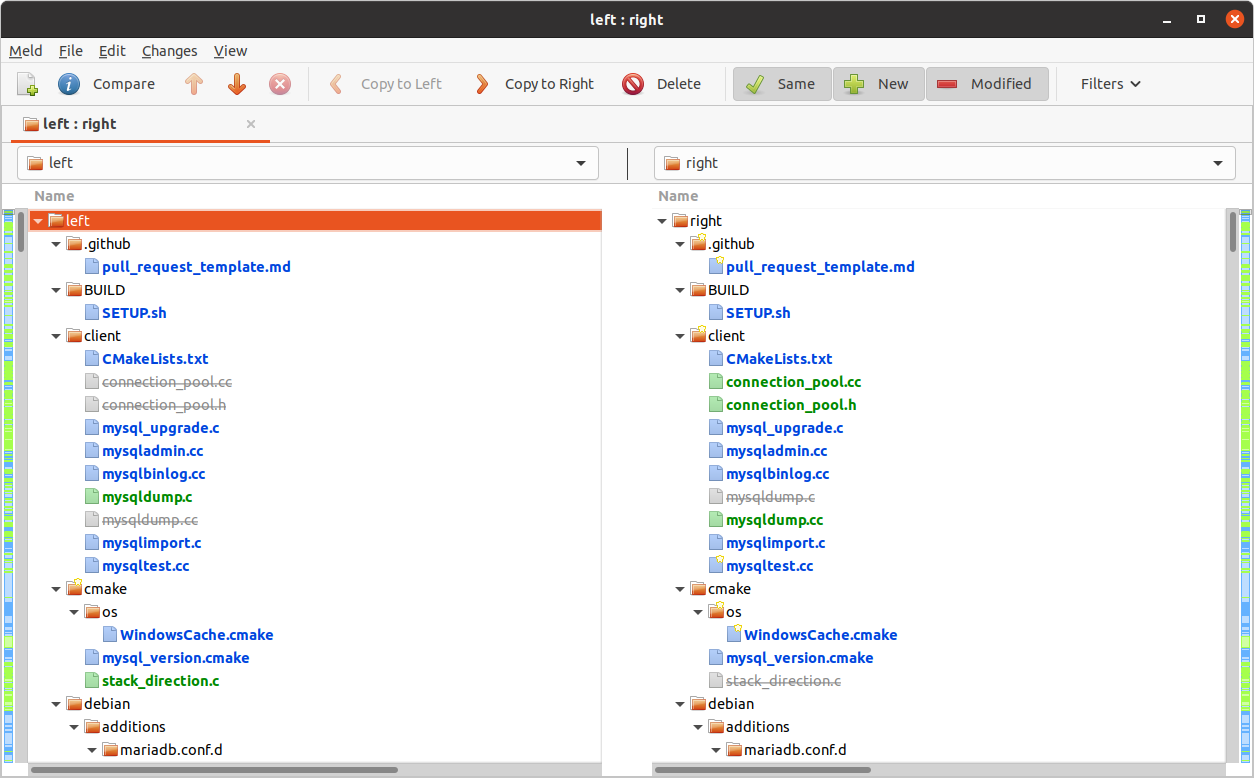
server$ gitk --all &A typical need is also to compare the files and changes across multiple commits or branches using Git diff. The nicer graphical option to it is to run git difftool --dir-diff branch1..branch2 which will open the diff program of your choice. Personally I have opted to always use Meld with git config diff.tool meld.
Committing, rebasing, cherry-picking and merging
When making a Git commit, doing it graphically with git citool helps to clearly see what changes have been made, and to select the files and even the exact lines to be committed with the click of a mouse. The tool also offers built-in spell-checking, and the text box is sized just right to visually enforce keeping line lengths within limits. Since development involves committing and amending commits all the time, I recommend having these aliases:
alias g-commit='git citool &'
alias g-amend='git citool --amend &'Personally, I practically never commit by simply running git commit. If I commit from the command line at all, it is usually due to the need to do something special, such as change the author with:
git commit --amend --no-edit --author "Otto Kekäläinen <otto@debian.org>"Another case where a command-line commit fits my workflow well is during final testing before a code submission when I find a flaw on the branch I am working on. In these cases, I fix the code, and quickly issue:
git commit -a --fixup a1b2c3
git rebase -i --autosquash mainThis will commit the change, mark it as a fix for commit a1b2c3, and then open the interactive rebase view with the fixup commit automatically placed at the right location, resulting in a quick turnaround to make the branch flawless and ready for submission.
Occasionally a Git commit needs to be applied to multiple branches. For example, after making a bugfix with the id a1b2c3 on the main branch, you might want to backport it to release branches 11.4 and 11.3 with:
git cherry-pick -x a1b2c3The extra -x will make Git amend the commit message with a reference to the commit id it originated from. In this case, it would state: (cherry picked from commit a1b2c3). This helps people reading the commit messages later to track down when and where the commit was first made.
When doing merges, the most effective way to handle conflicts is by using Meld to graphically compare and resolve merges:
$ git merge branch2
Auto-merging VERSION
CONFLICT (content): Merge conflict in SOMEFILE
Automatic merge failed; fix conflicts and then commit the result.
$ git mergetool
Merging:
SOMEFILE
Normal merge conflict for 'SOMEFILE':
{local}: modified file
{remote}: modified file
$ git commit -a
[branch1 e4952e06] Merge branch 'branch2' into branch1
One more thing to remember is that if a merge or rebase fails, remember to run git merge --abort or git rebase --abort to stop it and get back to the normal state. Another typical need is to discard all temporary changes and get back to a clean state ready to do new commits. For that I recommend this alias:
alias g-clean='git clean -fdx && git reset --hard && git submodule foreach --recursive git clean -fdx && git submodule foreach --recursive git reset --hard'This will reset all modified files to their pristine state from the last commit, as well as delete all files that are not in version control but may be present in the project directory.
Managing multiple remotes and branches
The most important tip for working with Git repositories is to remember at the start of every coding session to always run git remote update. This will fetch all remotes and make sure you have all the latest Git commits made since the last time you worked with the repository.
$ git remote update
Fetching origin
Fetching upstream
remote: Enumerating objects: 3, done.
remote: Counting objects: 100% (3/3), done.
remote: Total 3 (delta 2), reused 3 (delta 2), pack-reused 0
Unpacking objects: 100% (3/3), 445 bytes | 55.00 KiB/s, done.
From https://github.com/eradman/entr
e2a6ab7..6fa963e master -> upstream/masterIn the example above, you can see that there isn’t just the origin, but also a second remote called upstream. Most people use Git in a centralized model, meaning that there is one central main repository on e.g. GitHub or GitLab, and each developer in the project pushes and pulls that central repository. However, Git was designed from the start to be a distributed system that can sync with multiple remotes. To understand how to control this one needs to learn the concept of tracking branches and learn the options of the git remote command.
Consider this example that has two remotes, origin and upstream, and the origin remote has 3 push urls:
$ git remote -v
origin git@salsa.debian.org:debian/entr.git (fetch)
origin git@salsa.debian.org:debian/entr.git (push)
origin git@gitlab.com:ottok/entr.git (push)
origin git@github.com:ottok/entr.git (push)
upstream https://github.com/eradman/entr (fetch)
upstream https://github.com/eradman/entr (push)
$ cat .git/config
[remote "origin"]
url = git@salsa.debian.org:debian/entr.git
fetch = +refs/heads/*:refs/remotes/origin/*
pushurl = git@salsa.debian.org:debian/entr.git
pushurl = git@gitlab.com:ottok/entr.git
pushurl = git@github.com:ottok/entr.git
[remote "upstream"]
url = https://github.com/eradman/entr
fetch = +refs/heads/*:refs/remotes/upstream/*
[branch "debian/latest"]
remote = origin
merge = refs/heads/debian/latest
[branch "master"]
remote = upstream
merge = refs/heads/masterIn this repository, the branch master is configured to track the remote upstream. Thus, if I am in the branch master and run git pull it will fetch master from the upstream repository. I can then checkout the debian/latest branch, merge on upstream and do other changes. Eventually, when I am done and issue git push, the changes on branch debian/latest will go to remote origin automatically. The origin has 3 pushurls, which means that the updated debian/latest will end up on both the Debian server as well as GitHub and GitLab.
The commands to set this up were:
git clone git@salsa.debian.org:debian/entr.git
cd entr
git remote set-url --add --push origin git@salsa.debian.org:otto/entr.git
git remote set-url --add --push origin git@gitlab.com:ottok/entr.git
git remote set-url --add --push origin git@github.com:ottok/entr.git
git remote add upstream https://github.com/eradman/entrKeeping repositories nice and tidy
As most developers use feature and bug branches to make changes and submit them for review, a lot of old and unnecessary branches will start to pollute the Git history over time. Therefore it is good to check from time to time what branches have been merged with git branch --merged and delete them.
If a branch is deleted remotely as a result of somebody else doing cleanup, you can make Git automatically delete those branches for you locally as well with git config --local fetch.prune true. You can run this one-off as well with git fetch --prune --verbose --dry-run.
When working with multiple remotes, it might at times be hard to reason what will happen on a Git pull or Git push command. To see what tags and branches are updated and how without actually updating them run:
git fetch --verbose --dry-run
git push --verbose --dry-run
git push --tags --verbose --dry-runUsing the --dry-run option is particularly important when running push or pull with --prune or --prune-tags to see which branches or tags would be deleted locally or on the remote.
Another maintenance task to occasionally spend time on is to run this command to make Git delete all unreachable objects and to pack the ones that should be kept forever:
git prune --verbose --progress; git repack -ad; git gc --aggressive; git prune-packedTo do this for every Git repository on your computer, you can run:
find ~ -name .git -type d | while read D
do
echo "===> $D: "
(cd "$D"; git prune --verbose --progress; nice -n 15 git repack -ad; nice -n 15 git gc --aggressive; git prune-packed)
doneBetter Git experience with Liquip Prompt and fzf
It is not practical to constantly run git status (or git status --ignored) or to press F5 in a gitk window to be aware of the Git repository status. A much handier solution is to have the Git status integrated in the command-line prompt. My favorite is Liquid Prompt, which shows the branch name, and displays green if everything is committed and clean, red if there are uncommitted changes, and yellow if changes are not pushed.
Another additional tool I recommend is the Fuzzy Finder fzf. It has many uses in the command-line environment, and for Git this alias is handy for changing branches:
alias g-checkout="git checkout "$(git branch --sort=-committerdate --no-merged | fzf)""This will list all local branches with the recent ones topmost, and present the list in an interactive form using fzf so you can select the branch either using arrow keys, or typing a part of the branch name.
Bash aliases
While Git has its own alias system, I prefer to have everything in plain Bash aliases defined in my .bashrc. Many of these are explained in this post, but there are a couple extra as well. I leave it up to the reader to study the Git man page to learn for example what git push --force-with-lease does.
alias g-log="git log --graph --format='format:%C(yellow)%h%C(reset) %s %C(magenta)%cr%C(reset)%C(auto)%d%C(reset)'"
alias g-history='gitk --all &'
alias g-checkout='git checkout $(git branch --sort=-committerdate --no-merged | fzf)'
alias g-commit='git citool &'
alias g-amend='git citool --amend &'
alias g-fixup='git commit -a --fixup'
alias g-rebase='git rebase --interactive --autosquash'
alias g-pull='git pull --verbose --rebase'
alias g-pushf='git push --verbose --force-with-lease'
alias g-status='git status --ignored'
alias g-clean='git clean -fdx && git reset --hard && git submodule foreach --recursive git clean -fdx && git submodule foreach --recursive git reset --hard'Keep on learning
As a programmer, it is not enough to know programming languages and how to write code well. You also need to understand the software lifecycle and change management. Understanding Git deeply helps you better prepare for situations where potentially hundreds of people collaborate on the same code base for years and years.
To learn more about Git concepts, I recommend reading the entire Pro Git book. The original version is over a decade old, but the online version keeps getting regular updates by people contributing to it in the open source spirit. As an example, I wrote a new section last year about automatically signing Git commits. Skimming through the Git reference documentation (online version of man pages) is also a great way to become aware of what capabilities Git offers.
What is your favorite command-line Git trick or favorite tool? Comment below.